How to Stop Your Frizzy hair: Tips for Smooth, Manageable Hair skincare / Dr. Gene Phillips How to Stop Your Frizzy hair: Tips for Smooth, Manageable Hair Read More »
Demi-Permanent Hair Color: The Ultimate Guide for Gorgeous, Long-Lasting Hair skincare / Dr. Gene Phillips Demi-Permanent Hair Color: The Ultimate Guide for Gorgeous, Long-Lasting Hair Read More »
What Is a Vertical Lip Piercing and How Is It Done? skincare / Dr. Gene Phillips What Is a Vertical Lip Piercing and How Is It Done? Read More »
Top 5 Signs Your Baby Might Have a Lip Tie skincare / Dr. Gene Phillips Top 5 Signs Your Baby Might Have a Lip Tie Read More »
5 Benefits of Using Ear Wax Candles You Should Know skincare / Dr. Gene Phillips 5 Benefits of Using Ear Wax Candles You Should Know Read More »
What is Nail Dehydrator and How Does It Work? skincare / Dr. Gene Phillips What is Nail Dehydrator and How Does It Work? Read More »
Remove Nail Glue from Your Nails: Step-by-Step Guide skincare / Dr. Gene Phillips Remove Nail Glue from Your Nails: Step-by-Step Guide Read More »
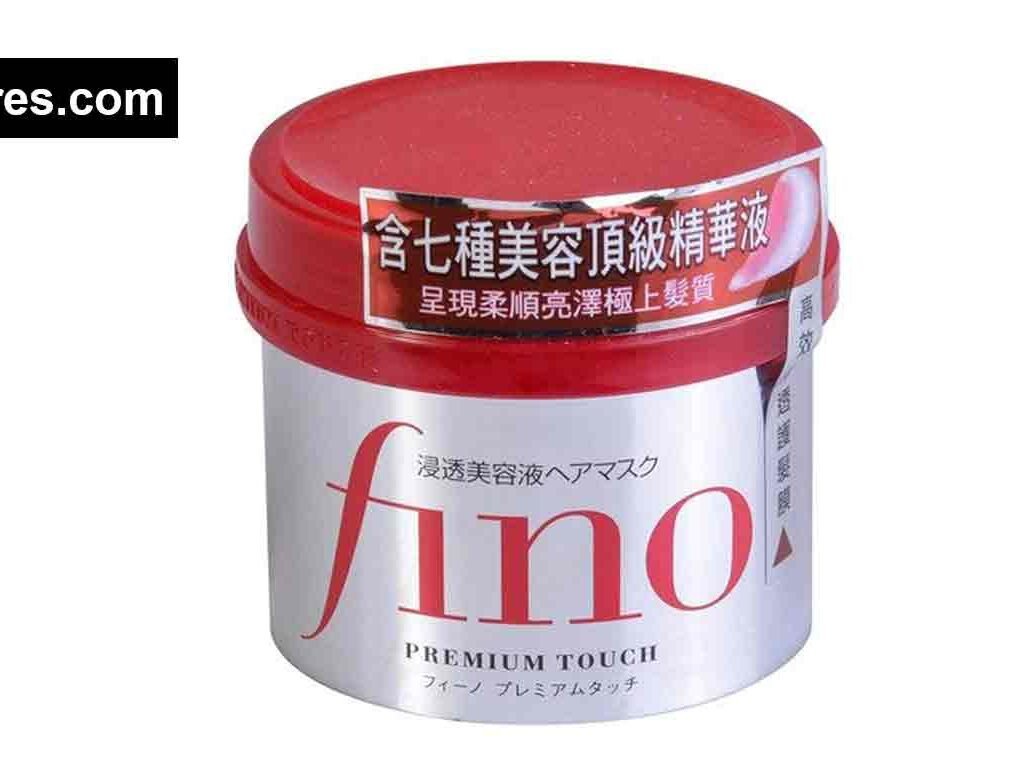
Fino Hair Mask: Benefits, Usage, and Effectiveness in 2025 skincare / Dr. Gene Phillips Fino Hair Mask: Benefits, Usage, and Effectiveness in 2025 Read More »
What is 4C Hair? Everything You Need to Know skincare / Dr. Gene Phillips What is 4C Hair? Everything You Need to Know Read More »